Friday, April 22, 2016

Square wave test signal generator

I recently ordered parts from various sources, but haven't received them yet.  I was itching to build something, and I came across this little square wave test signal generator.


Just a little multivibrator to make a signal.  Since it is a square wave, you are going to get lots of harmonics.  The idea is that if you just need to put in *a* signal to see what comes out the other side (be it AF, IF, etc), this would be a quick little tool.

I didn't have a lot of free time today, so I decided just to get it working.  I needed to use a lower resistor value for RL1/RL2 as he mentioned - I guess the transistors I used didn't have as high of gain as his.  I used part of a paper clip for the probe, which worked pretty well.


I'm not sure when or if I'll actually use use this, but it got me my making fix for the day.  :)

Sunday, April 17, 2016

Measuring output impedance of the crystal checker

Just for fun, I wanted to see about cleaning up the output of the crystal checker.  I had fun putting different side capacitors on the output just to see what would happen on the output.  But I finally decided that I needed to measure the output impedance.  I had seen this video, but I was hung up on sizing the AC coupling capacitor first.  I asked on reddit, and an nice user pointed out that you want the cap to be low impedance at the frequency you care about.  (At which point I felt very silly for asking something so obvious.)

My fundamental frequency is at 3.57 MHz, so I calculated I need at least a 45nF capacitor.  I tried using a 470nF (what I had handy), and got an open voltage of 10.16v. Adding a 4.7k resistor off the other side of the cap as load, I got a voltage of 9.76v. So that would seem to say that my output impedance is 192.6 Ohms.

Thursday, April 14, 2016

Crystal tester - Fixed

I found this video on youTube, and he mentioned that the "4k7" on the schematic was suppose to be "47k".  I had a 4.7k there.  When I replaced it, I am seeing what I expect.  Yay!

Crystal tester

I built the crystal tester from here.


I am using a colorburst crystal, so the frequency should be 3.57954 MHz.  However, I seem to mainly see around 10Mhz.


Need to research a bit here - not sure why I'm not seeing the fundamental frequency I expect here.  Still, something nice to see on the scope :)

Wednesday, April 13, 2016

Noise Generator

After making the MMM, I was thinking about making a low pass filter to clean it up.  But having no toroids kicking around the garage at the moment, I was thinking about building all air core wound on forms.

But then I started thinking how to measure the LPF.  I started thinking about noise generators - feed broadband noise into the LPF, and look at the output on the FFT of the oscilloscope.  In theory, anyway.

I came across this circuit and decided to build it.  


Had several missteps (wrong resistor value, forgot to cut a trace, etc).  But after all that it still wasn't working.  I noticed in their writeup they mention that they got it from a different site, and when I looked at that one, I noticed they were using slightly different values (including a 12v source).  On a whim, I tried the higher voltage, and got noise!


I'm not sure if I'm getting as much noise as I want, though.  The output of this seems to be maybe 2v P-P.  If I'm reading the FFT right, it looks like the noise is up 30dBVrms.  But the FFT doesn't look to be going out as far as I would think.  If I'm reading it right, it is only showing me the fft out to around 600 KHz.  Strange.

After asking around and playing with the scope, I found that you need to adjust the horizontal time scale *before* you go into the Math function.  I also adjusted to use the maximum memory (under the horizontal menu) - not sure if that helped.

I think the next step here is to look at the output signal level and see if I can figure out how to go about increasing that - feels like that will be needed to really see signals when I try to measure filters.

Saturday, April 9, 2016

Quick and dirty dummy load

For a few projects, I was in need of a dummy load capable of handling a few watts.  I grabbed a few 2 watt resistors at Al Lasher's the other day, threw them on a protoboard with a BNC connector, and bob's your uncle.


Arduino inductance meter

I recently bought a little LC meter on EBay.  It was like $10.


When I got it, I immediately made a variable capacitor out of some aluminum foil, cardboard, and a piece of plastic so I could measure it.  Great fun.

Not long after, I was building the Mighty Mite, and thought "hey, here is a coil!  I should measure it!"

Nothing.

I thought maybe it was out of range, or there was some other reason it wouldn't measure.  But, it could also be that it just wasn't working for inductance.

So I decided to build a meter to compare with.

I didn't want to spend a lot of time reinventing any wheels, so I cast around for a design someone had already made.  There are quite a few out there, but I wanted to focus on quick and simple, and found this.


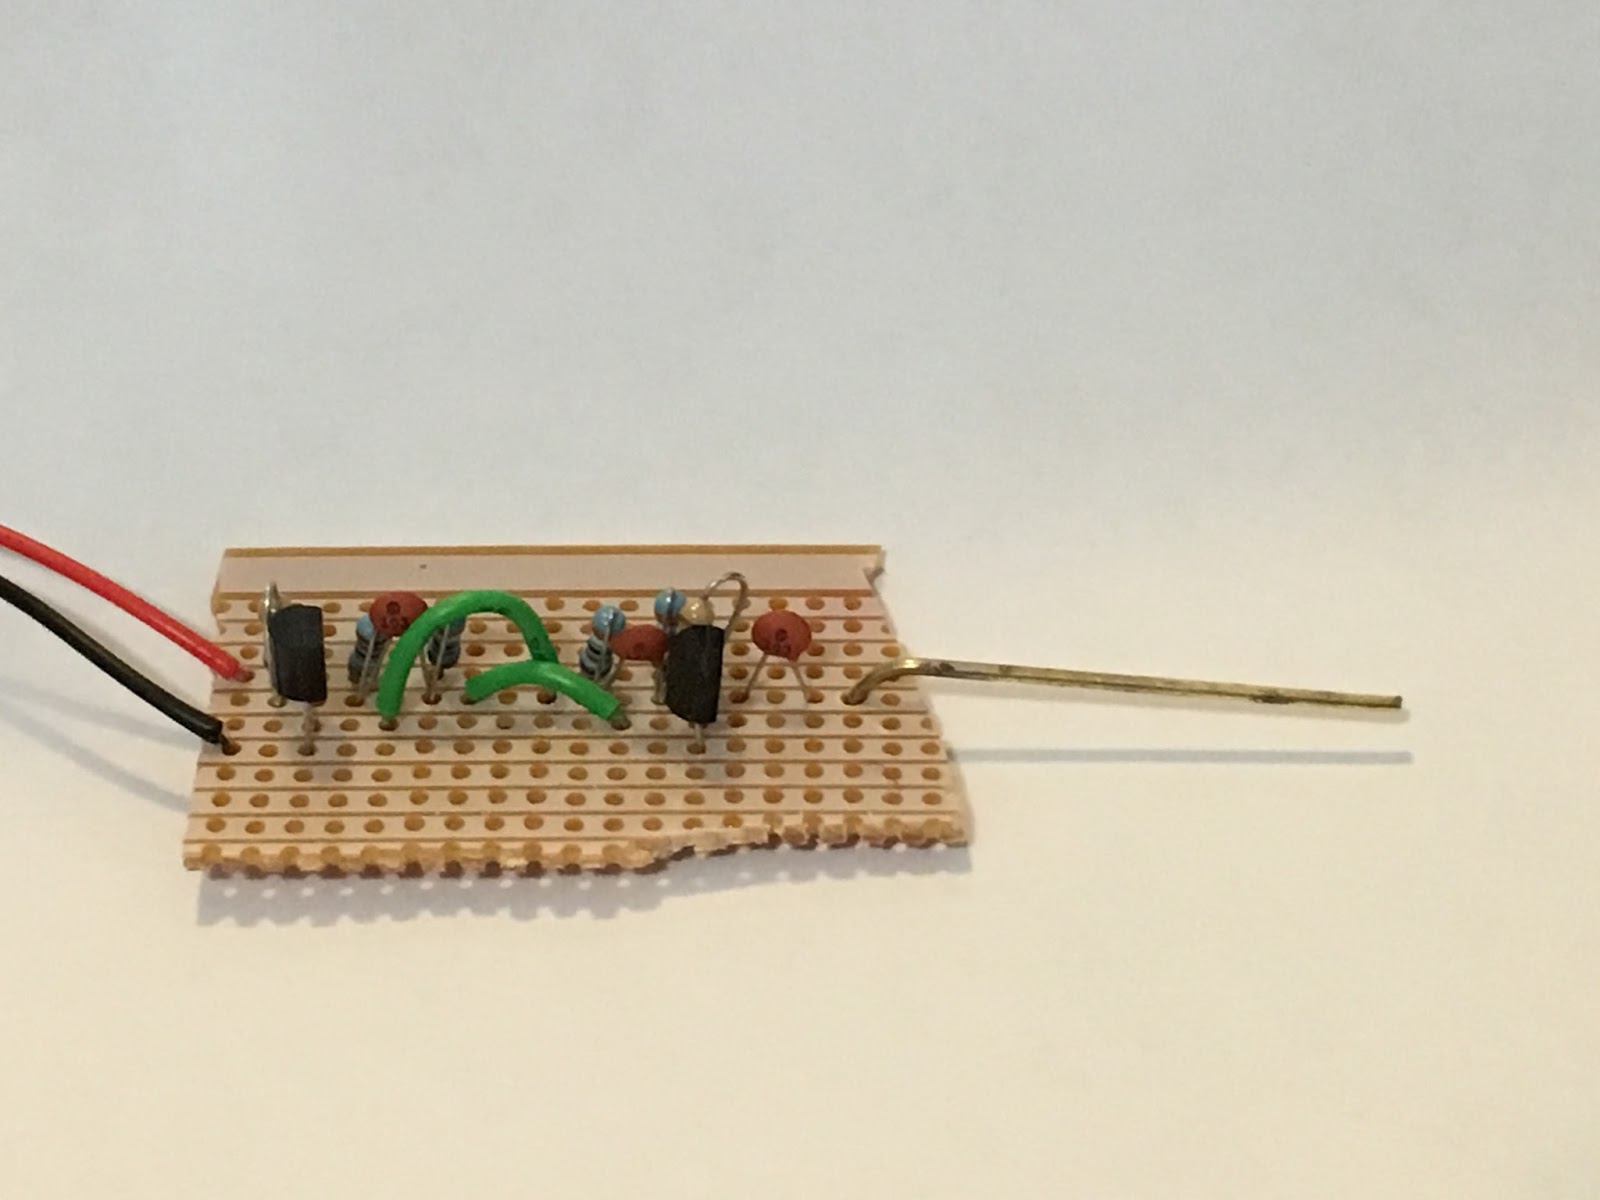
His page explains how it works really well.  Basically it is an LC tank formed between a known capacitance and your unknown coil.  It uses a comparator that I luckily happened to have in my junkbox.  I didn't have the 1uF caps, but I had some 0.47uF that I put in parallel.  My LC meter says that all together they equal 2uF, which is exactly what I needed.


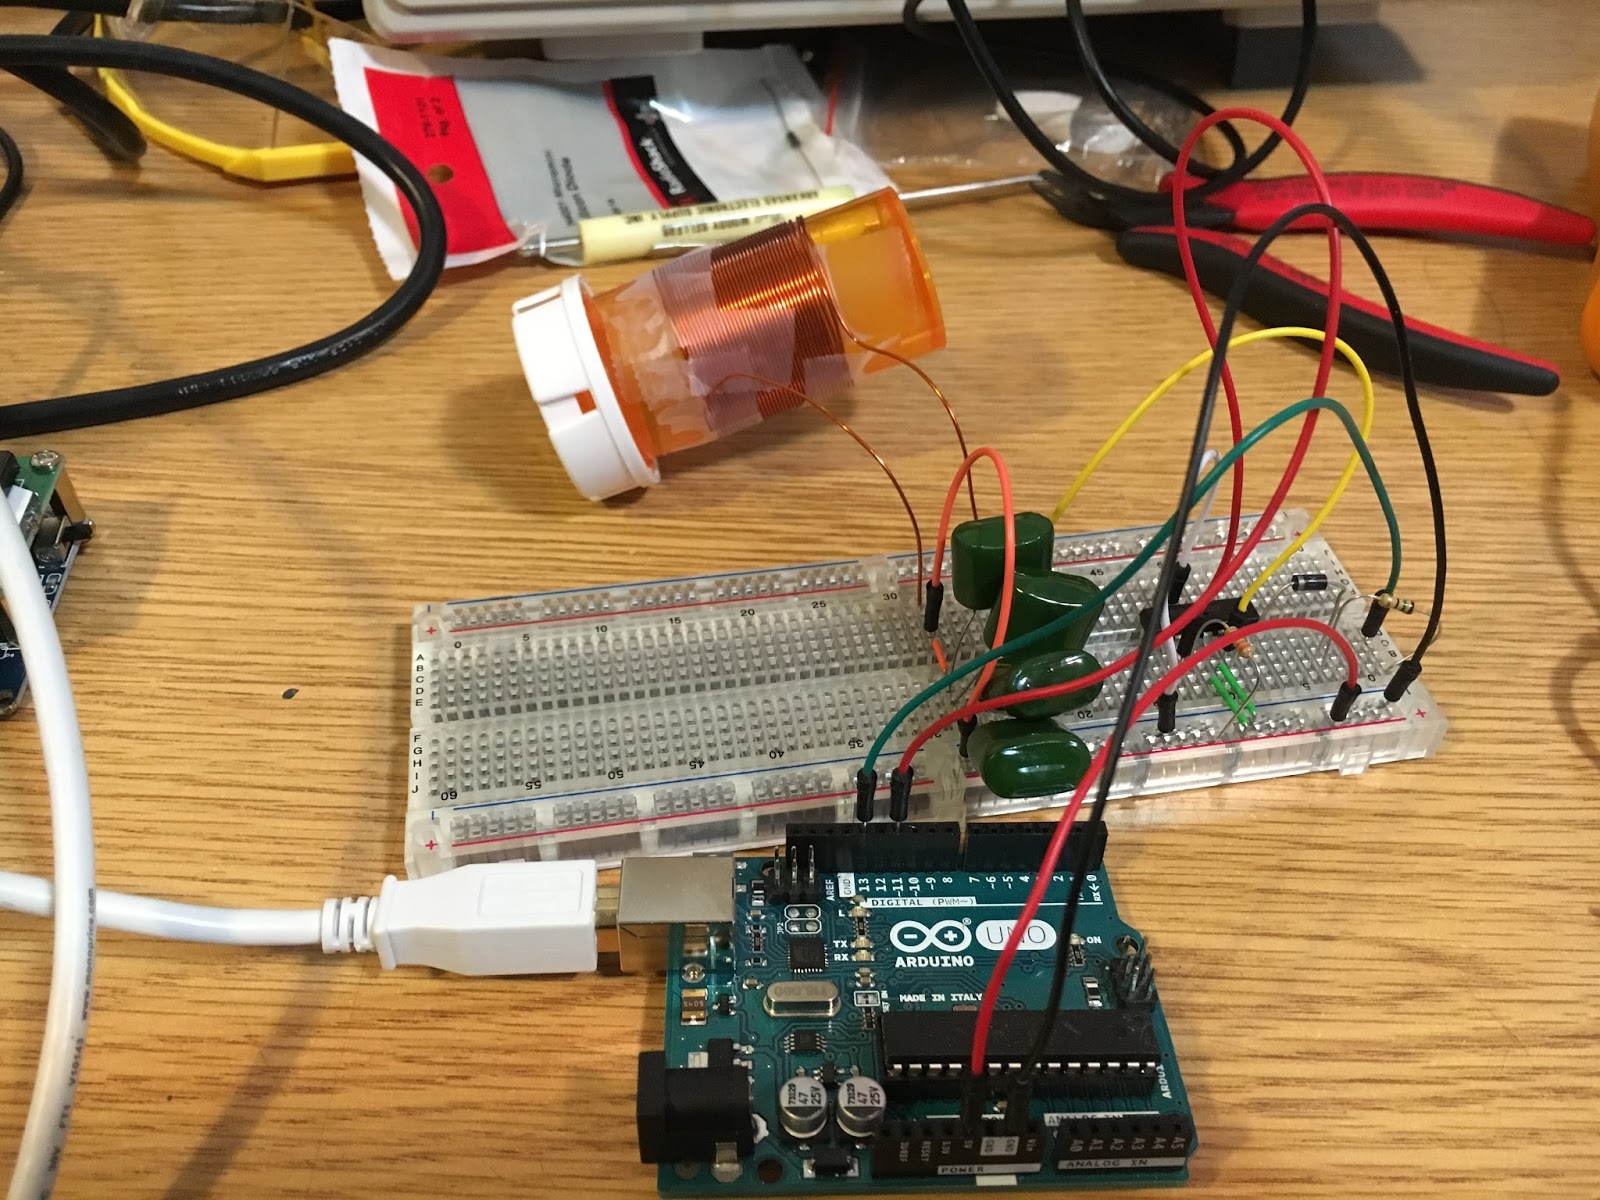
I wound some wire on a pill bottle to have something to measure.  I calculated that it should have an inductance of 31.1uH.  The Arduino measured it as 45.59uH.  The EBay device measured it as 0.

AND THEN...

Someone on the QRP-Tech Yahoo Group was asking about who had what LC Meters.  I mentioned I had this one that only measured capacitance.

A nice man by the name of Steve wrote me to ask if I shorted the leads when I first go to measure the inductance, as it requires that.  Um... no.  No I did not.  Now, to my credit, it didn't come with instructions and that isn't intuitive.  In any case, now that I know how to actually use it, it seems to work.

All in all, though, I'm glad I had the issue, because it gave me an excuse to wire up this project!

General class, with a side of Extra

I went up to Benicia today to take my General test.  I have been studying for it using the ARRL book and iOS app by N1ZTL.  I actually went through all the questions in the app and only missed a few, so was in good shape.  After I passed it, the VE encouraged me to take the Extra.  I didn't think that was going to work out, given there is a lot of information there and I had only read a bit in that book.  But it gave it a shot - why not, doesn't take long and didn't cost anymore.

AND I PASSED!

w00t!

Michigan Mighty Mite

Listening to the SolderSmoke podcast has convinced me that I need to experience the Joy of Oscillation.  To that end, I decided to build a Michigan Mighty Mite.


This is a simple CW transmitter circuit - basically a crystal oscillator circuit that can put a bit of power out on an antenna.  You can see how to build it here.  It only has a couple of parts.  I am using a pill bottle to build the transformer.  The transistor got a bit hot, so I'm using a soldering tool heat sink.  You can build it for many different frequencies.  I am using a 3.579545 MHz crystal, so perhaps I've joined the Color-Burst Liberation Army?


As you can see, the output is really ugly.  If I weren't doing this into a dummy load, I would definitely want to have a low pass filter on it.  Also, not sure how much the capacitance in the breadboard is contributing to matters.

I'm not 100% sure how much power it was putting out.  It looked like a paltry amount on the oscilloscope, but then I realized later that the probe was set on 10x and the machine was at 1x.  (I just got this, and I'm still learning the ins and outs.)  The coil got messed up in the interim, and think I'd rather move on to the next thing for now rather than play with it more.

Still, I got to experience the Joy of Oscillation, and I got to test out my new scope.  Good times!